Lavender Valentine's Day gift to make!
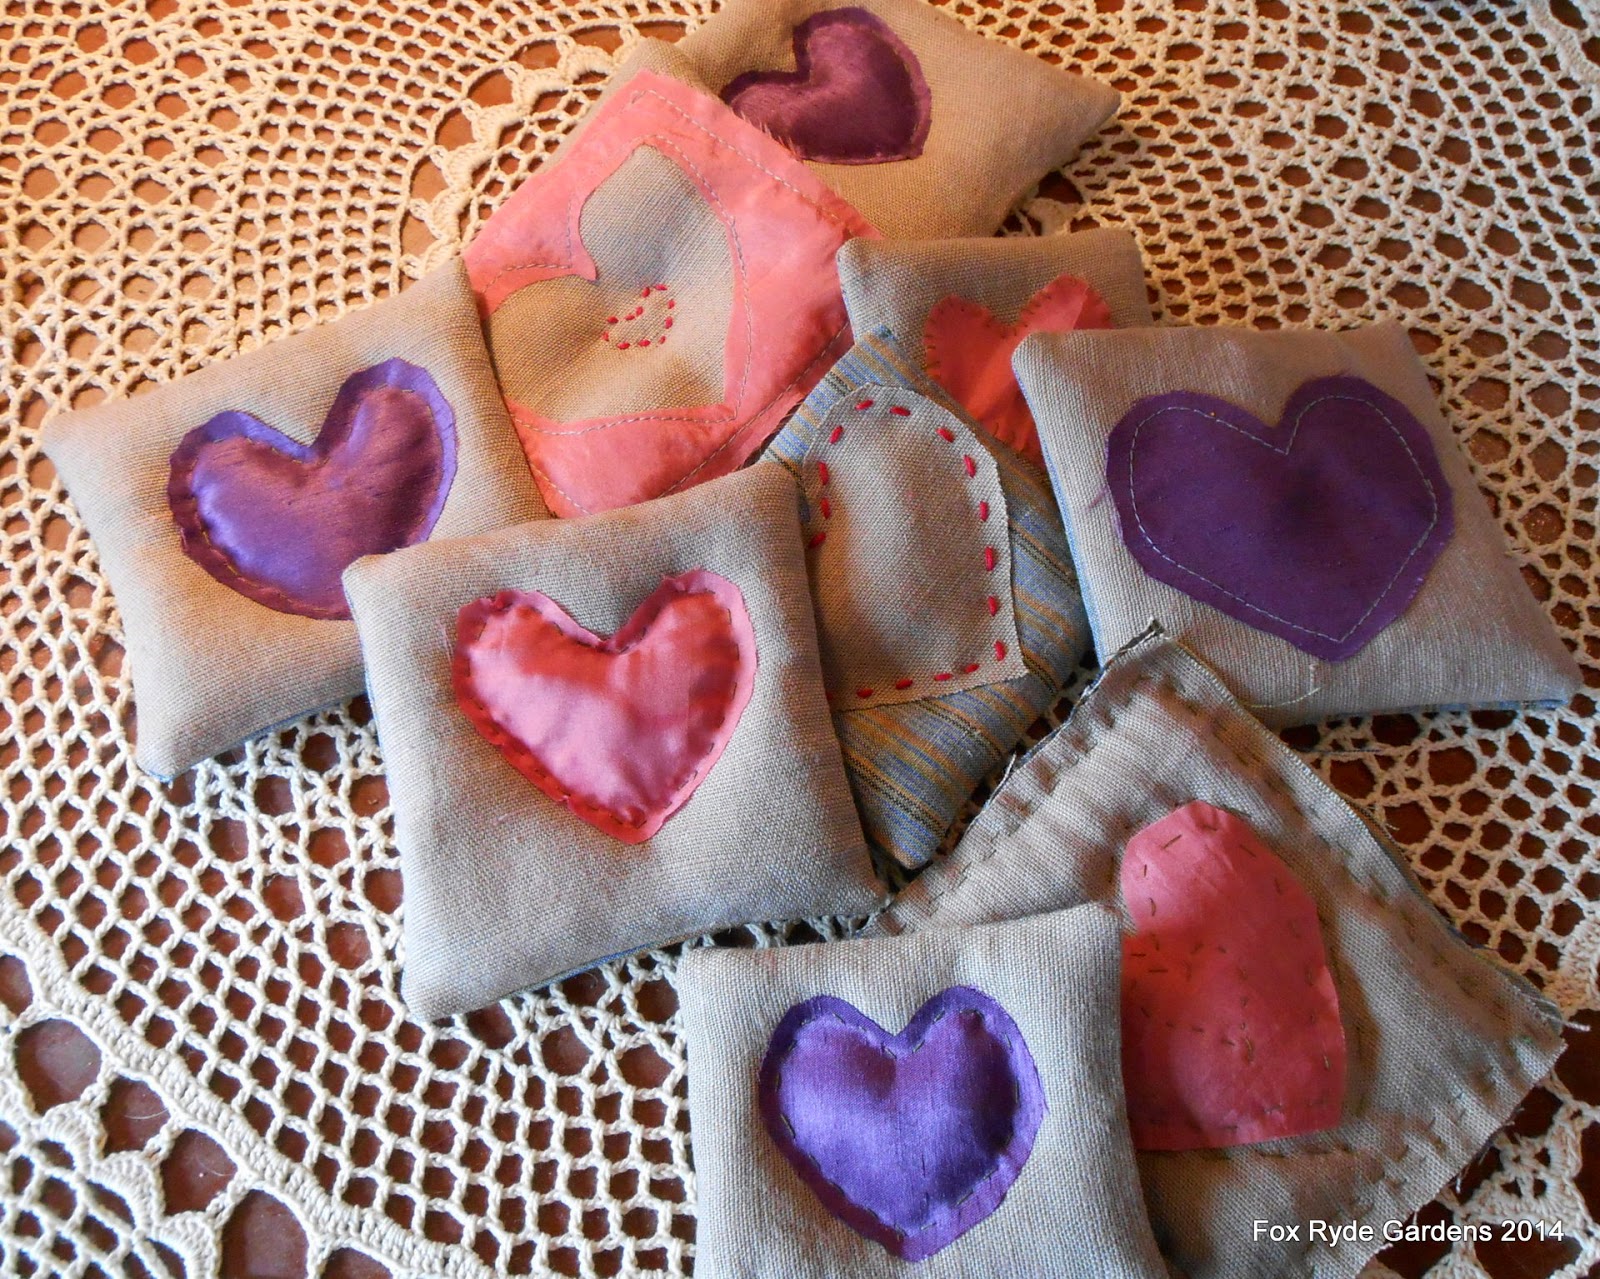 |
| A sweet pile of lavender goodness! |
I got inspired to make this fun heart centered gift by a pile of linen scraps, an extra bag of lavender flowers,and a need to make something fun and easy.
I'm going to assume you have basic sewing skills both with machine and/or needle and thread. Nothing fancy, just straight seams and knowing how to turn a corner. If you don't, try YouTube. I'm not up for teaching those things. I learned them about a zillion years ago so I don't even know what you wouldn't know to be able to teach you.
Grab up some cloth in colors and textures you love and that make you happy. I had two different kinds of linen scraps left over from various other projects, so that was perfect.
Cut out 2 squares per little pillow. Mine are around 4" square(ish). The seams take up about 1/2 inch on each side, so the squares started out 5" each side. It's not real important, just make sure the two squares are same size.

Using your mad sewing skills,(with right sides together, remember) stitch around 3 1/2 sides of the square. Make sure to back stitch when you start and stop. Do it, you will thank me later.
Okay, get ready to thank me. After you have sewn the two squares together, reach into the place where you didn't sew and pull the square inside-out. If you want to be fancy you can clip the corners just a bit to reduce the bulk but it's not important.
It's a bit of a struggle getting the inside out but you can do it. Use a chopstick in the opening to square up the corners by poking the tip firmly in the corners. Push and tug until you are happy with the square.
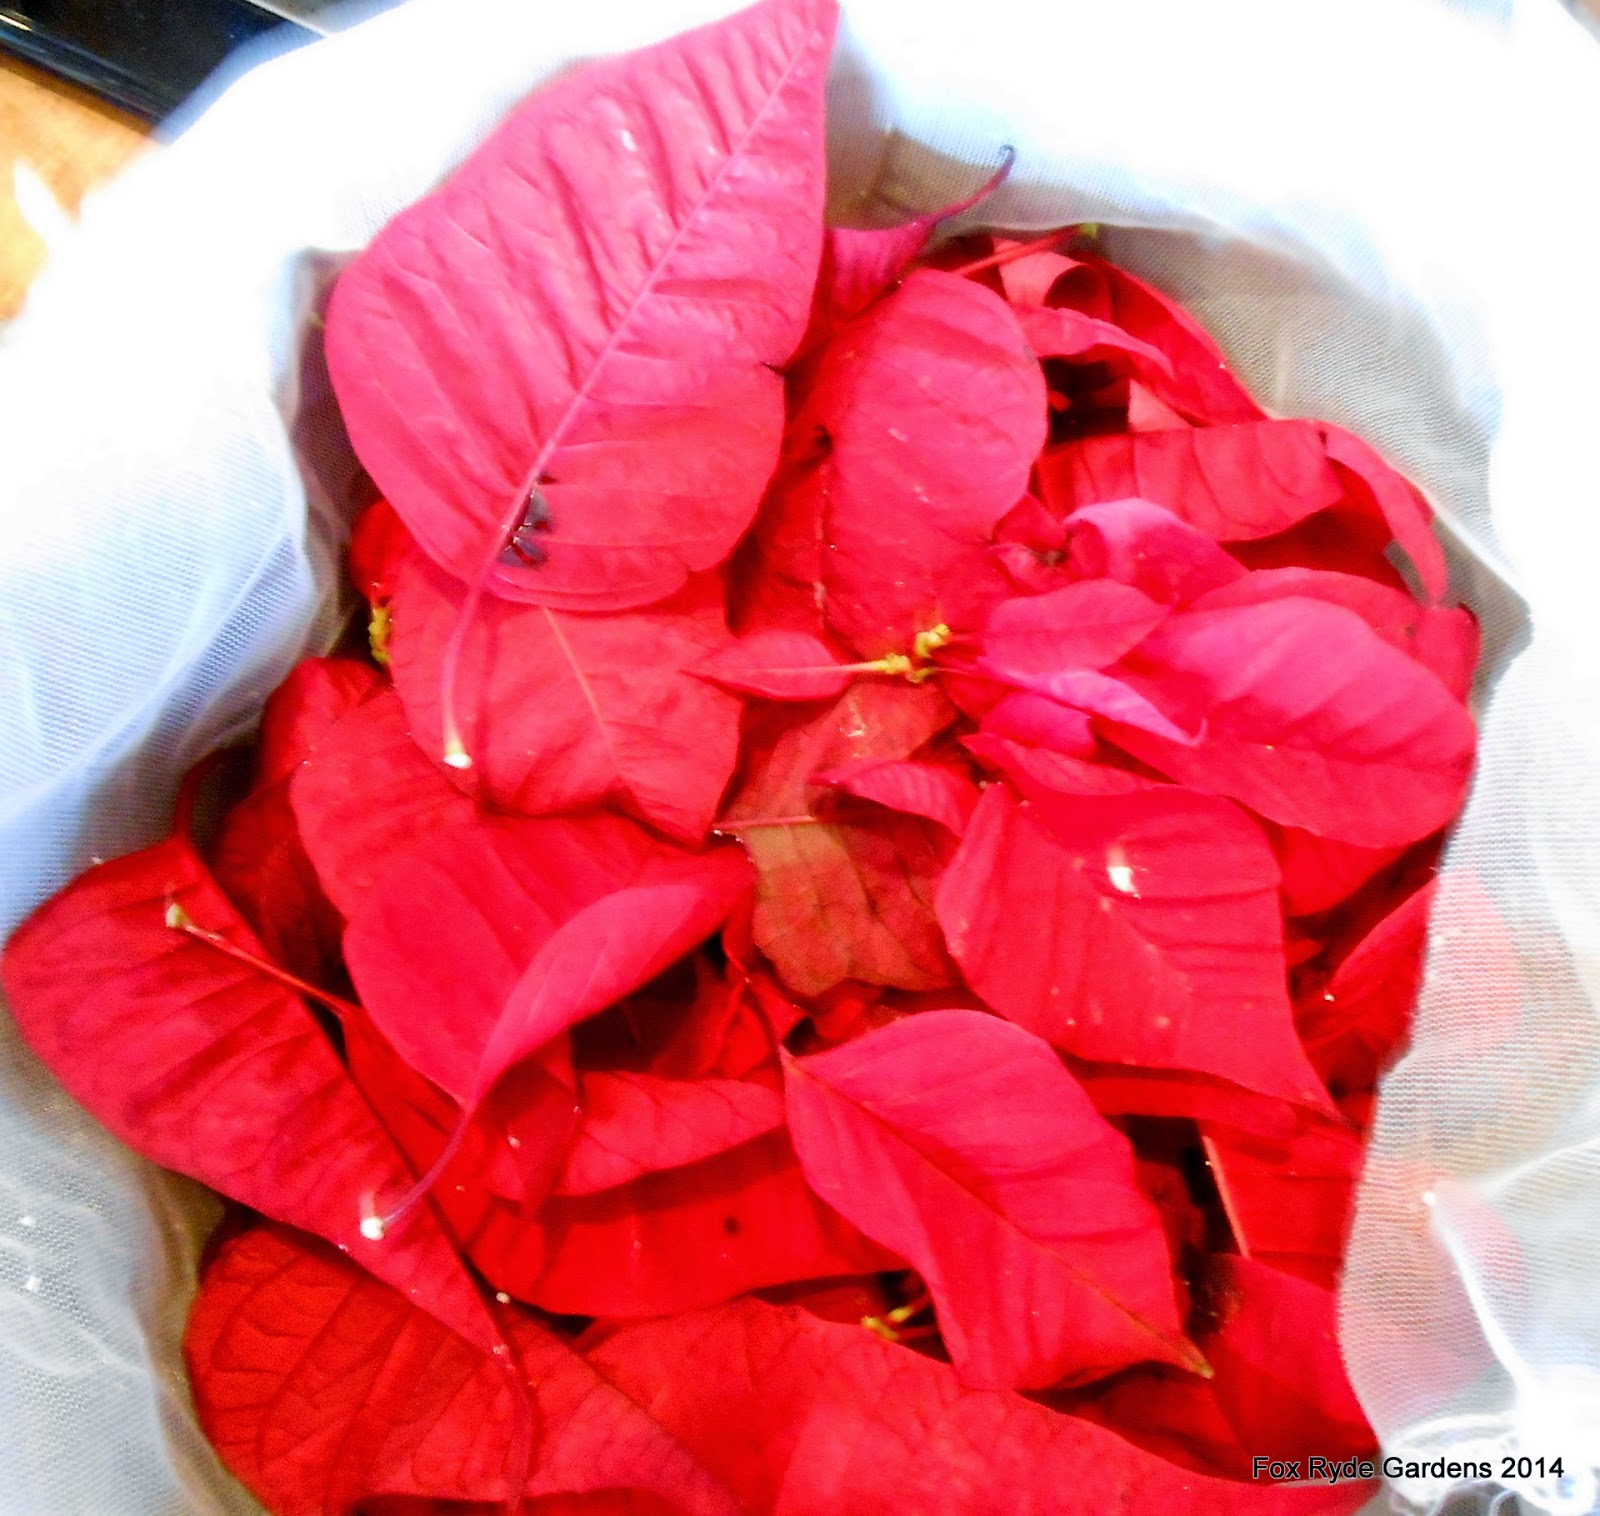
Here is the fun part: using a funnel and your chopstick,stuff the square with some lavender flowers. I used two small handfuls per full sized pillow, less for the smaller ones. Add other nice smelling herbs if you'd like. Looking good!

Once it's loosely stuffed, don't make it too full,you will need to close the opening. I use the "blind stitch" so it doesn't show but it really doesn't matter. I would not use staples as they will be scratchy but a couple of staples would make it clear your gift was homemade. It's really your choice.

Then you decorate! Sew through both sides to make the puffy hearts. Sew through just the top layer for the more pillowy ones.

Here is how to make a symmetrical heart shape.
Fold a piece of paper in half. I used an old envelope here. Draw the sort of ice-cream cone shape on the fold. Don't worry about making it perfect, you can fix it later.

Cut it out.

Open it up and look! You made a heart. Adjust it as you like - make the heart shape that makes you happy!

You do the same thing when you go to cut the heart out of your fabric. Fold the fabric in half and cut both sides at once. This will assure that you have a reasonably symmetrical heart shape.

Make several sizes while you are at it. It's fun! Don't use your fabric scissors to cut paper though. I will hunt you down and punish you if you do. No wonder we can't have nice things.

When you hand sew the heart onto the pillow, you can hide the knot at the end of your thread under the heart like this:

I just took tiny stitches perpendicular (sort of) to the edge of the heart to fasten it down.

These are supposed to be rustic and simple, so don't try too hard. It's supposed to be fun. Once it was sewn down, I pinned a larger heart over the top and sewed through both layers of the pillow following the heart shape. This helps a lot. I can't sew without a guide.

The final result! I love it. So sweet! I gave it away immediately to a friend of mine about to have surgery. She was so excited!

Here is my pooch Henry showing the finished pillow off.

I thought about outlining a heart in beads or attaching some trim but didn't do it this time. I actually kept them pretty simple and graphical. I really like them!
Great fun to create! A different Valentine's Day gift for your sweeties! Enjoy!
Comments